If you are one of those who will soon travel to India and have wanted to buy train tickets online, you have realized that it is not so simple, because they require you to have an Indian mobile number where they send a verification code; if you did not have it, you have to send emails to receive an activation code, etc…
Now, all that is history, and you can do it without needing a mobile number, through 12go.asia.

Don’t worry, because the steps to follow are very easy and in less than 5 minutes you will be able to book train tickets in India. We will also give you a little information about train classes, and we will talk about the famous “Waiting list”. But that’s after this step by step.
IRCTC was the online booking gateway for trains in India that we used to use, when you could sign up with your mobile phone, but now it no longer works and it has become an impossible task.
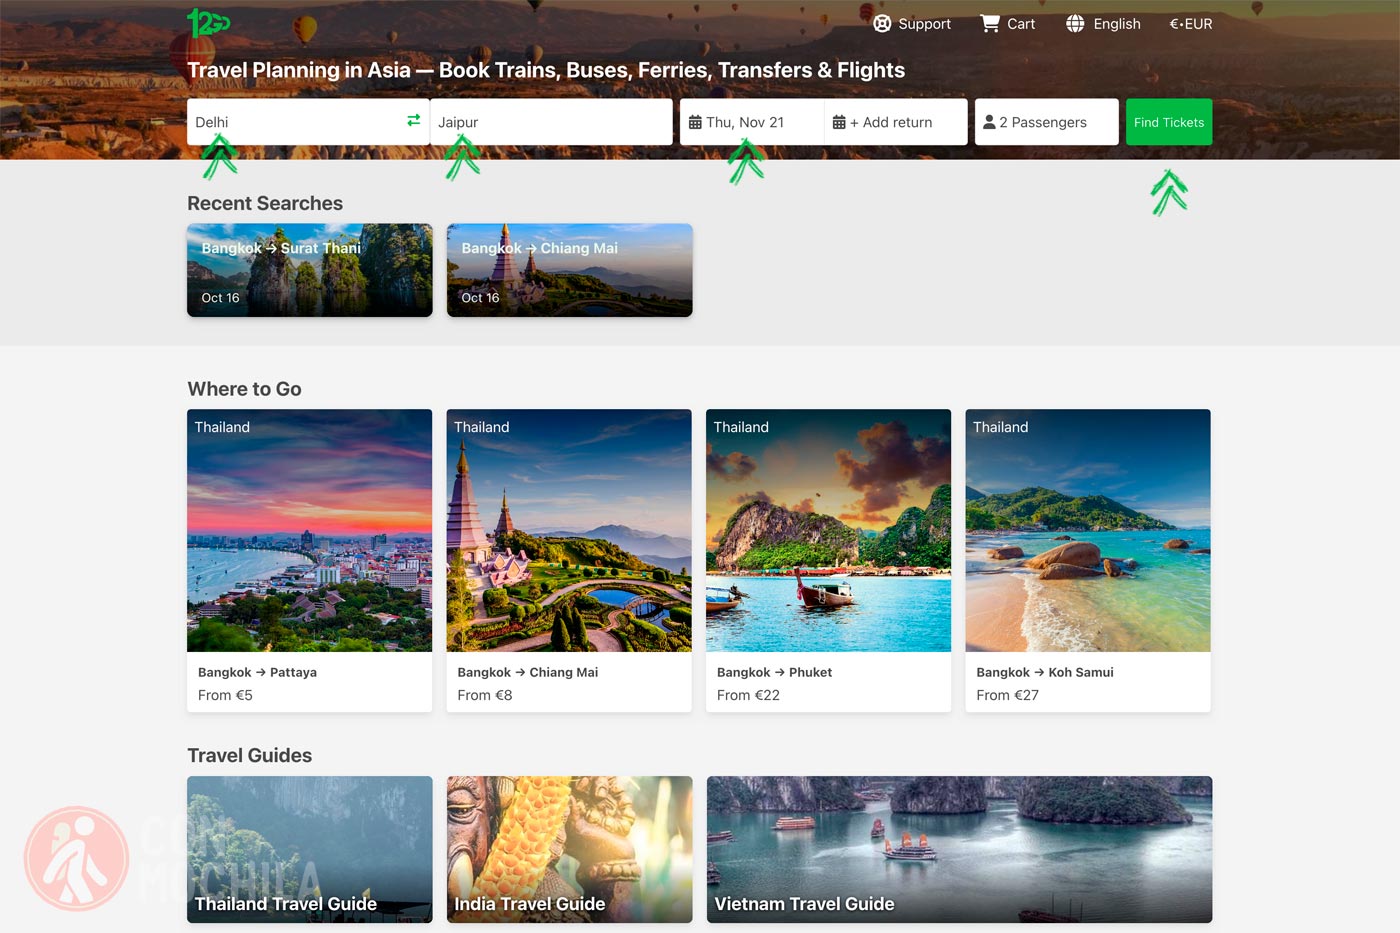
For some time now, we have been doing everything through 12go.asia, a platform where you can find transportation throughout almost all of Asia. As an example, we are going to book a train from New Delhi to Jaipur for November 17, so the first thing we will do is access this platform through the following link:
Once on the website, we will enter the origin (New Delhi), the destination (Jaipur), the date (November 21th) and the number of passengers (in our case, 1). We click on “Find tickets” and go to step 2.
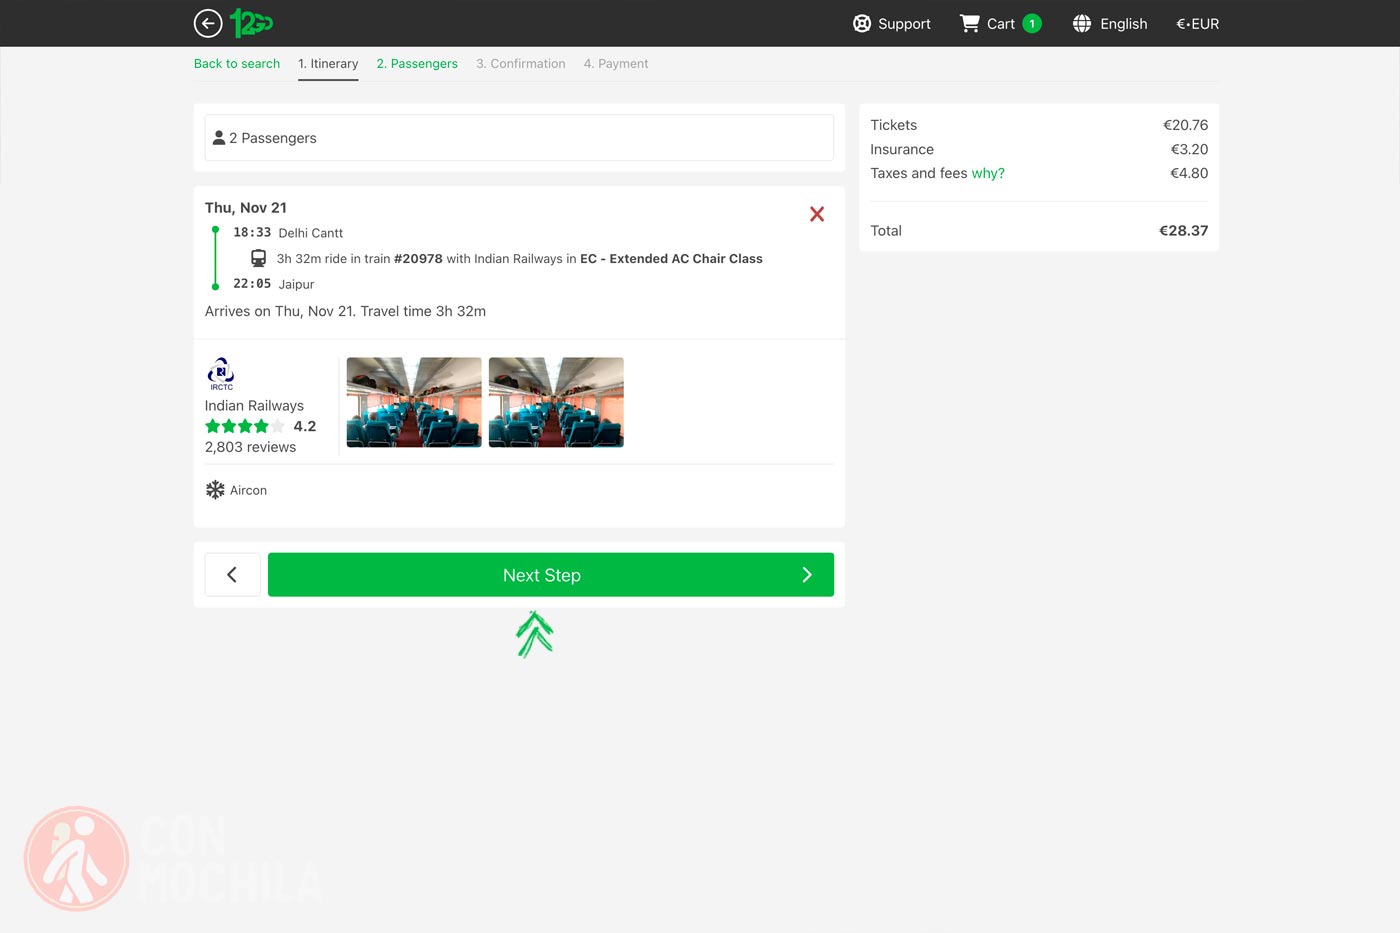
We will soon have the results of the search. In this case, two trains leave at different times, at 11:00 in the morning and at 18:33pm. We will click on “Show options” to see what it shows us.
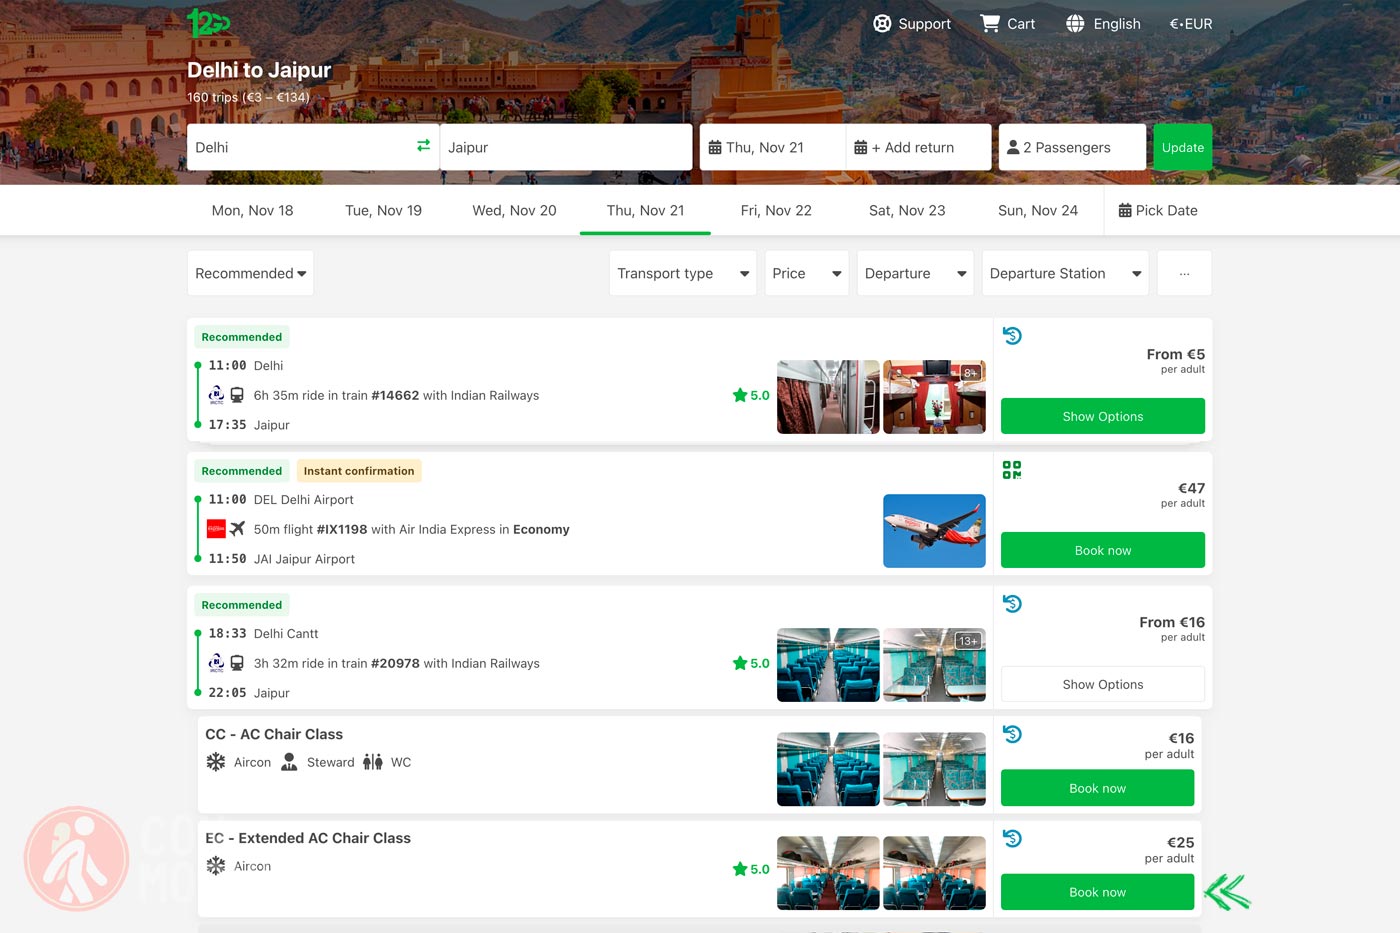
Once we display those options, we will be able to see 2 types of classes with their prices:
Select the one best suited for you depending on the comfort you want and the price that best fits your budget. In our case, we are going to select the EC, so we will click on “Book now” and go to step 3.
At this point, only our chosen train will appear, which in this case is from Delhi to Jaipur at 18:33 PM. Once we have confirmed that it is the train we wanted, we now click on “Next step”.
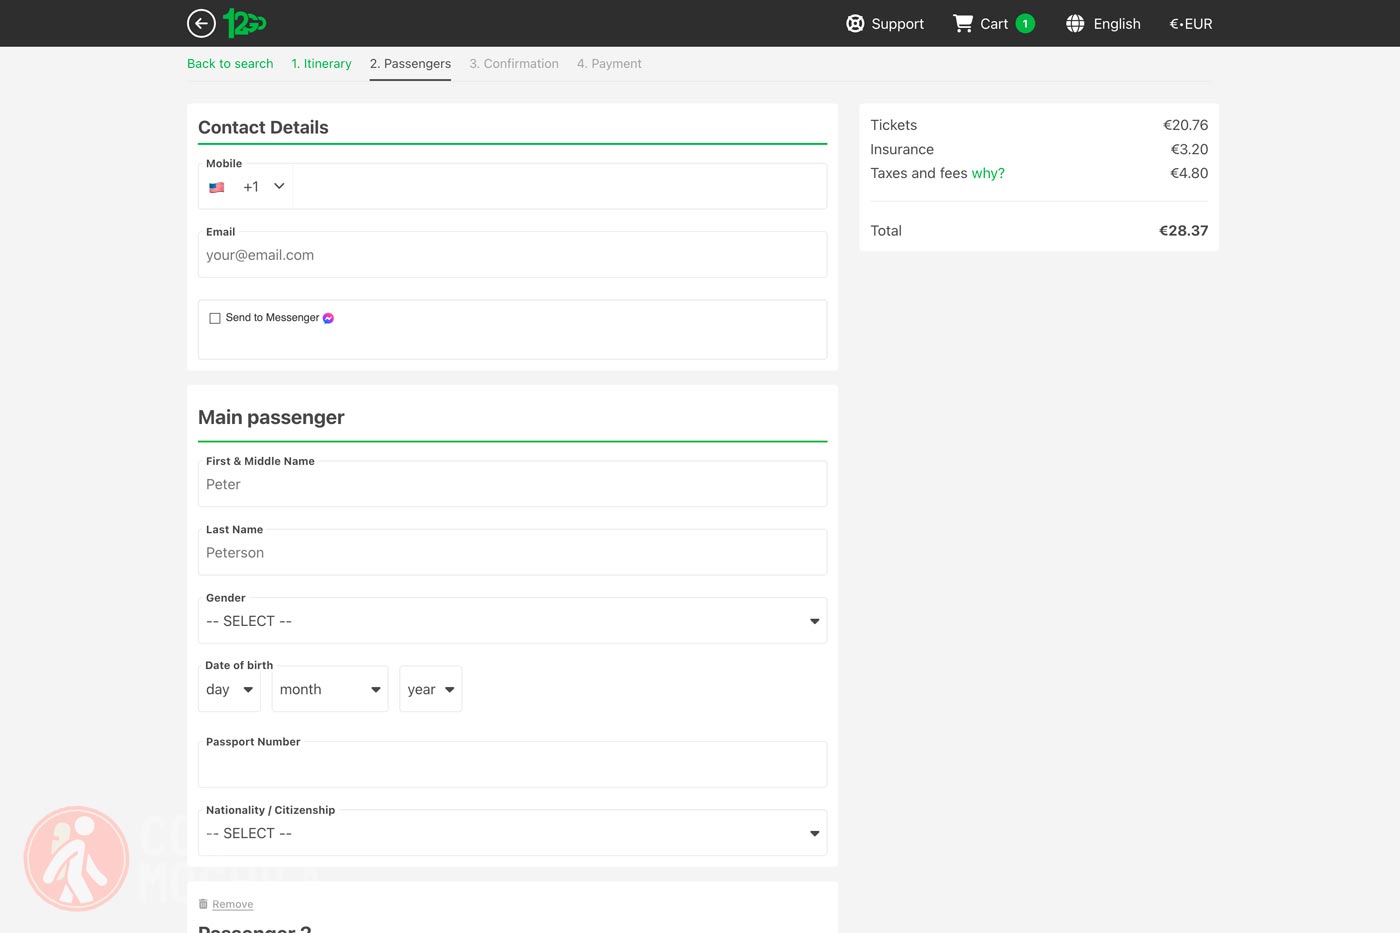
Now it’s time to fill in all the details of the passenger(s) in a short and fairly easy form. When you’re done, click on “Next step” to go to the next screen.
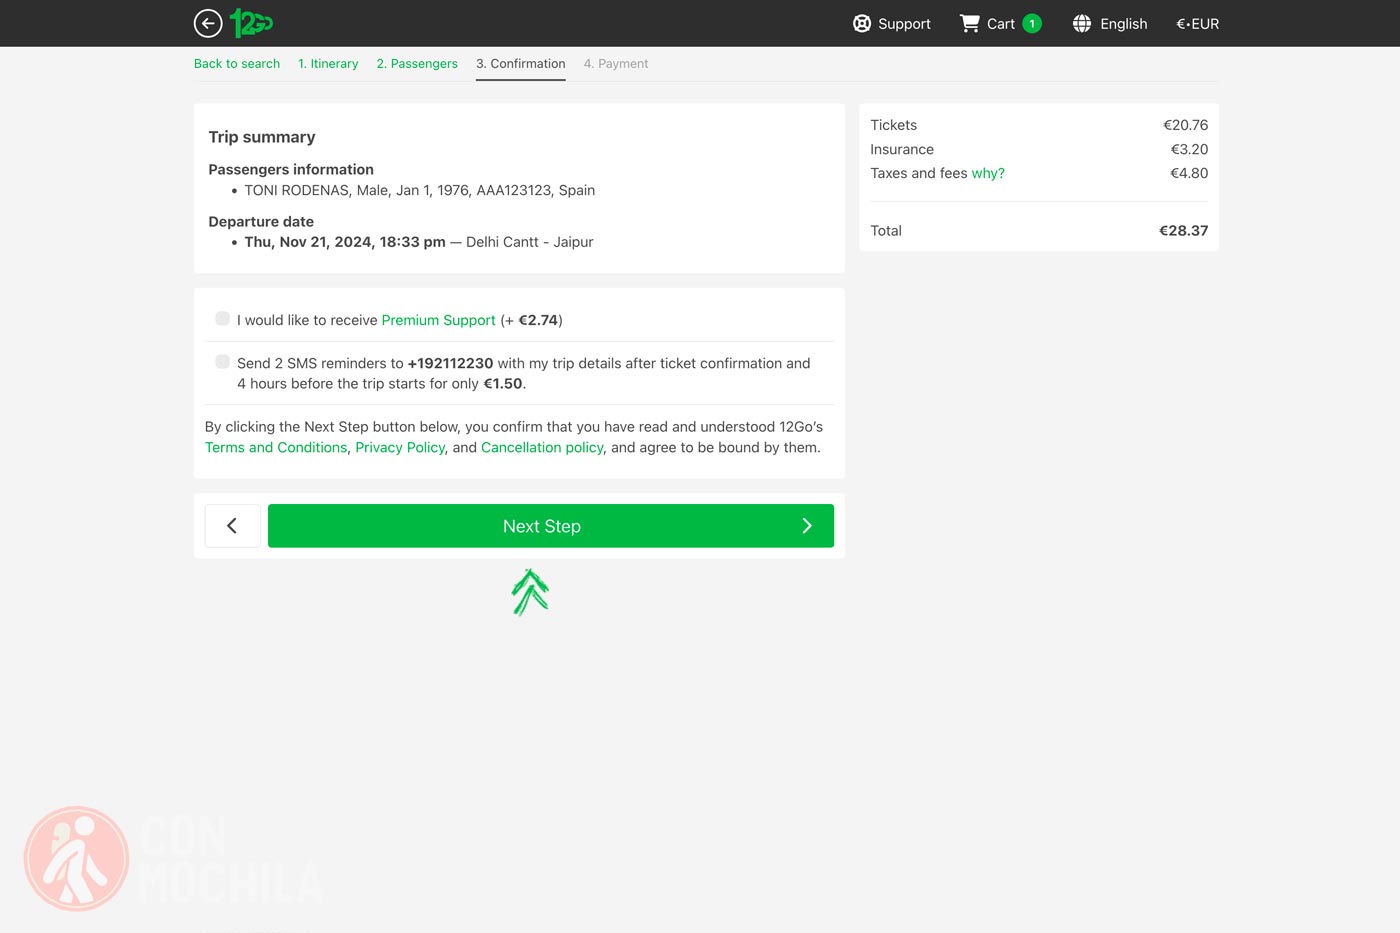
In this step you must confirm that both your details and the chosen train and itinerary are correct. If everything is OK, click on “Next step” to go to payment in step 5.
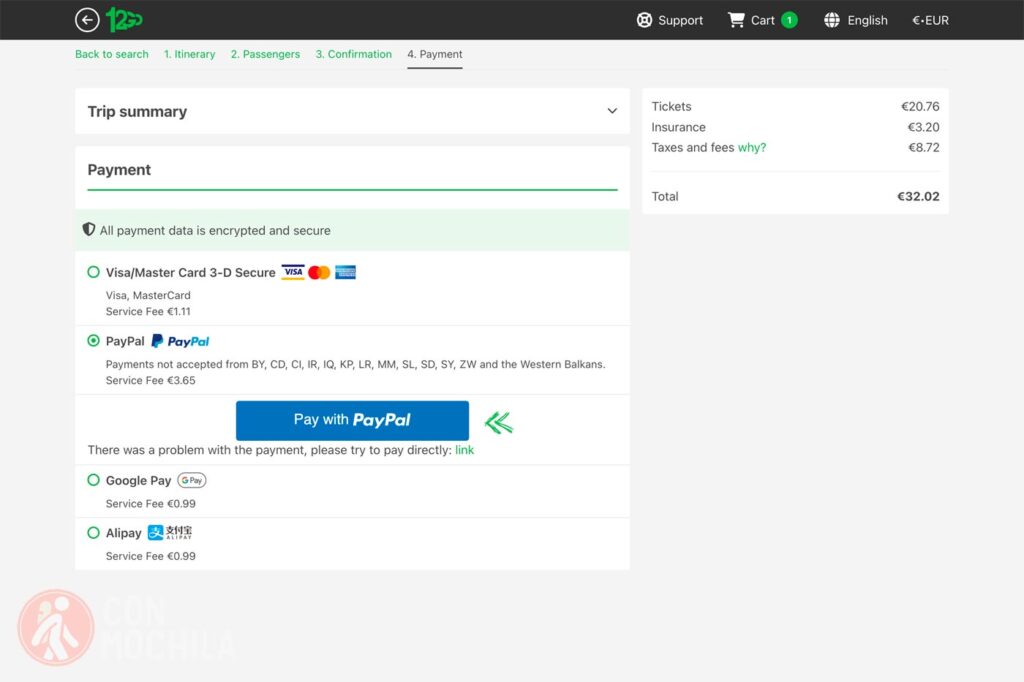
It is time to proceed to pay for the Indian train ticket. 12go.asia has different online payment gateways, so choose the one you want and fill in the requested details (in our case we have selected Paypal). Once you fill in these details, click on “Pay with Paypal”.
If everything went well, you will reach the last screen of payment. It will inform you that the payment has been made correctly and that your reservation is awaiting confirmation.
It is important to know that 12go.asia will now finish processing your reservation with the Indian government railway platform to confirm the reservation 100%.
If you check your email, you will soon receive confirmation of your Indian train ticket reservation. In our case, it only took a few minutes, although it can take a few hours.
In the same email, you will see attached a PDF with all the documentation for the Indian train ticket (eTicket): on one hand, from IRCTC (the official Indian train platform) and on the other, your purchase receipt from 12go.asia.
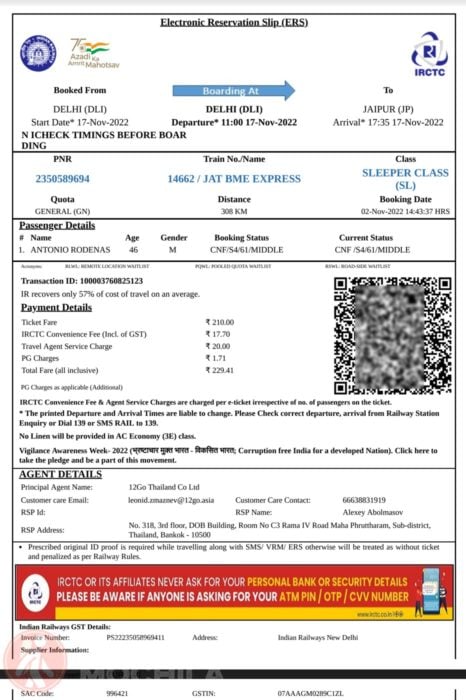
It is important to know which station your train leaves from. On the receipt you will find the address of the station with coordinates and a link to Google Maps.
You can now start booking trains online. Remember that it is very important to bring a printed e-ticket with you. This, along with your passport, is all you will need to board the train. If you forget, you will only have to show your passport and pay a small fine of 50 rupees.
We have also read about the waiting lists, which are nothing more than the lists where you are placed when you book your train ticket, but the list is already full.
We have been on the waiting list, and over the course of days we have been moving up the ranks.
All the people who write on the forums usually comment that it is strange not to have a place when the time comes, although we arrived at the New Delhi station while still on the waiting list and we both had to stay in the same bed-seat, since they had placed us in different carriages.
After seeing some photos, comments and explanations on the Seat61 website about trains in India, we have decided to complete this post with some of that information.
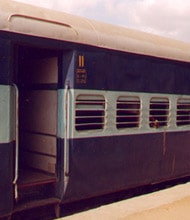
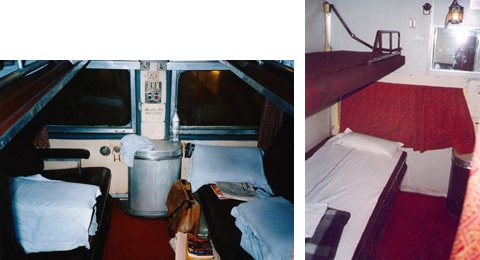
The best of the classes, spacious and carpeted, all with bunk beds, and one with 4 bunk beds and a bathroom. These are closed compartments and have a lock. It should be noted that they cost twice as much as the AC2.
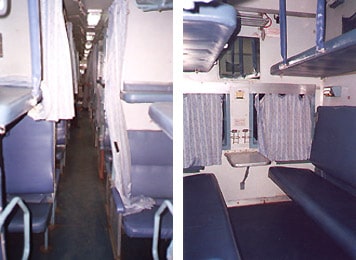
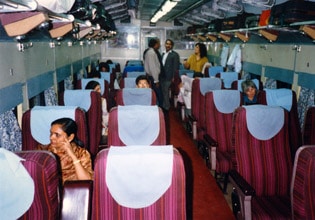
They have open compartments, and are chair-style during the day and double-decker bunks for night journeys. They are clean and the most popular choice for travelers and middle-class Indians. For greater privacy, they have curtains.
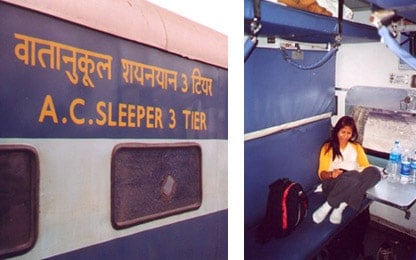
We’ll tell you this is what we chose for our first trip. It’s similar to the AC2, but without curtains and with 3 bunk beds.
It has now virtually disappeared in favor of the air-conditioned second class. It has no air conditioning and has 2 and 4 berth compartments.
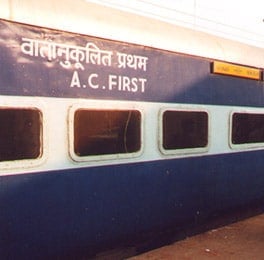
This class is only found on the major lines, and is available to holders of an AC1 IndRail pass.
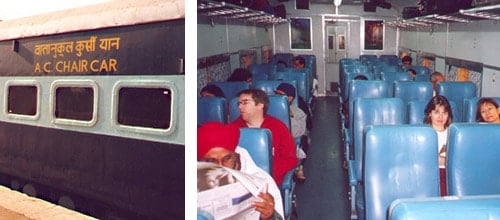
Comfortable seats in air-conditioned carriages. Available for AC2 IndRail pass holders.
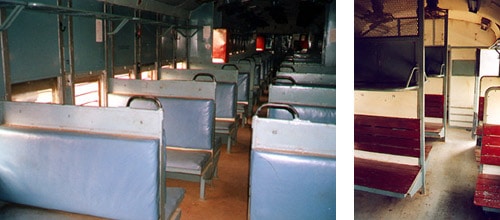
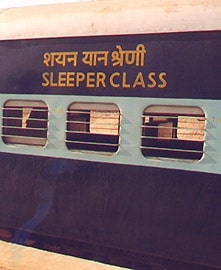
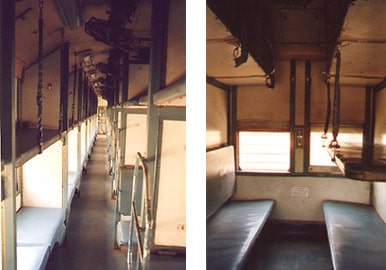
This is the class that most Indians take for long distances. It has 6 berths, 3 on each side (upper – middle – lower), and two on the aisle side (upper and lower). Sleeper class is used by the more adventurous backpackers.
Padded plastic or wooden seats. Not recommended for long-distance overnight travel but sufficient for short journeys during the day.